What inpainting does
Inpainting takes three things: the image, the area to change and a sentence saying what to put there. The models do not all go about it the same way. GPT Image 2.5 and 2.6 regenerate the whole image: they are shown the area, circled for 2.6 and highlighted for 2.5, then the server pastes the original pixels back outside the area, with a softened edge. Ideogram 4.5, Bria Fibo 2.0, Qwen Inpaint, Z-Image Turbo and Bria GenFill receive a mask and keep the original size. To remove something without replacing it, the Erase tab is enough; the other tools are in the photo editing guide.
9 models
in the Inpaint tab menu, GPT Image 2.6 Flare first
Up to 4K
with GPT Image 2.5 and 2.6; the others keep the original size
8 to 200 px
for the brush that marks the area, with an eraser and undo
Examples made on Beemm Vision
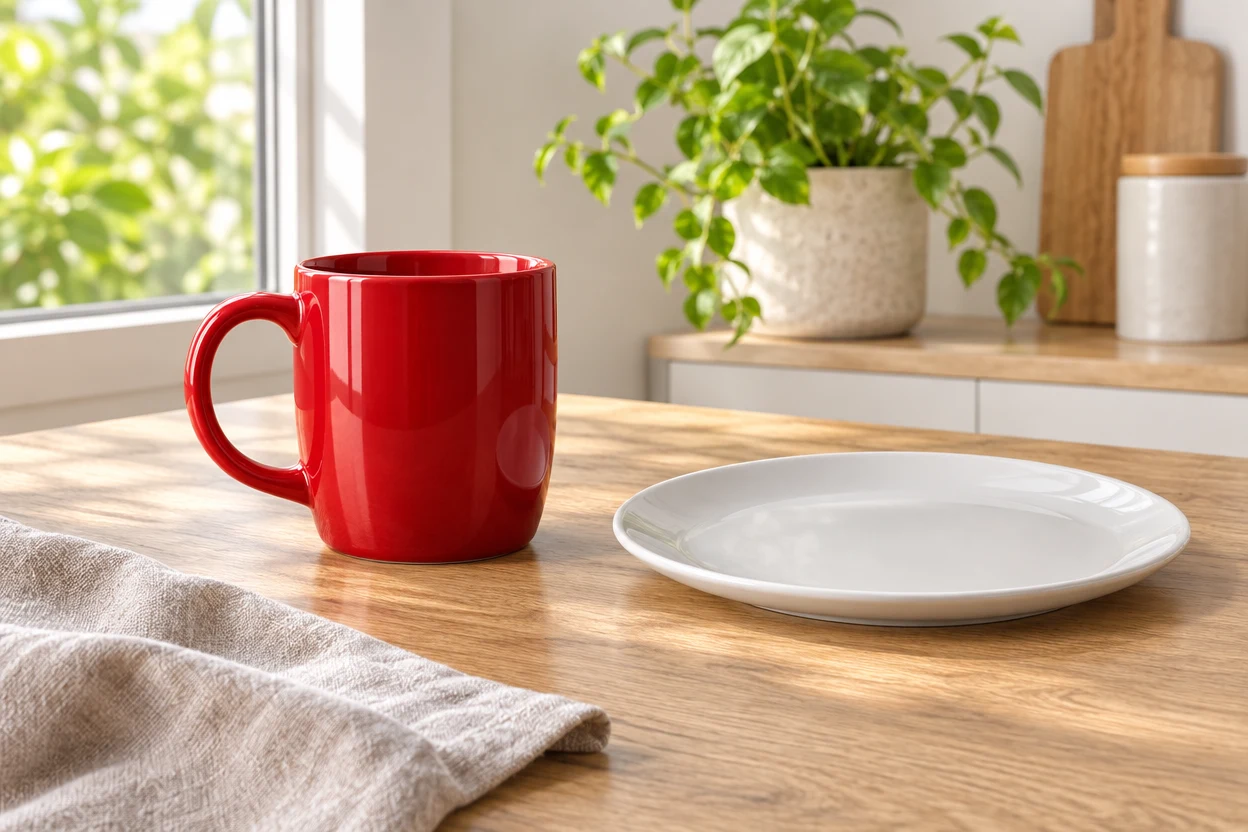
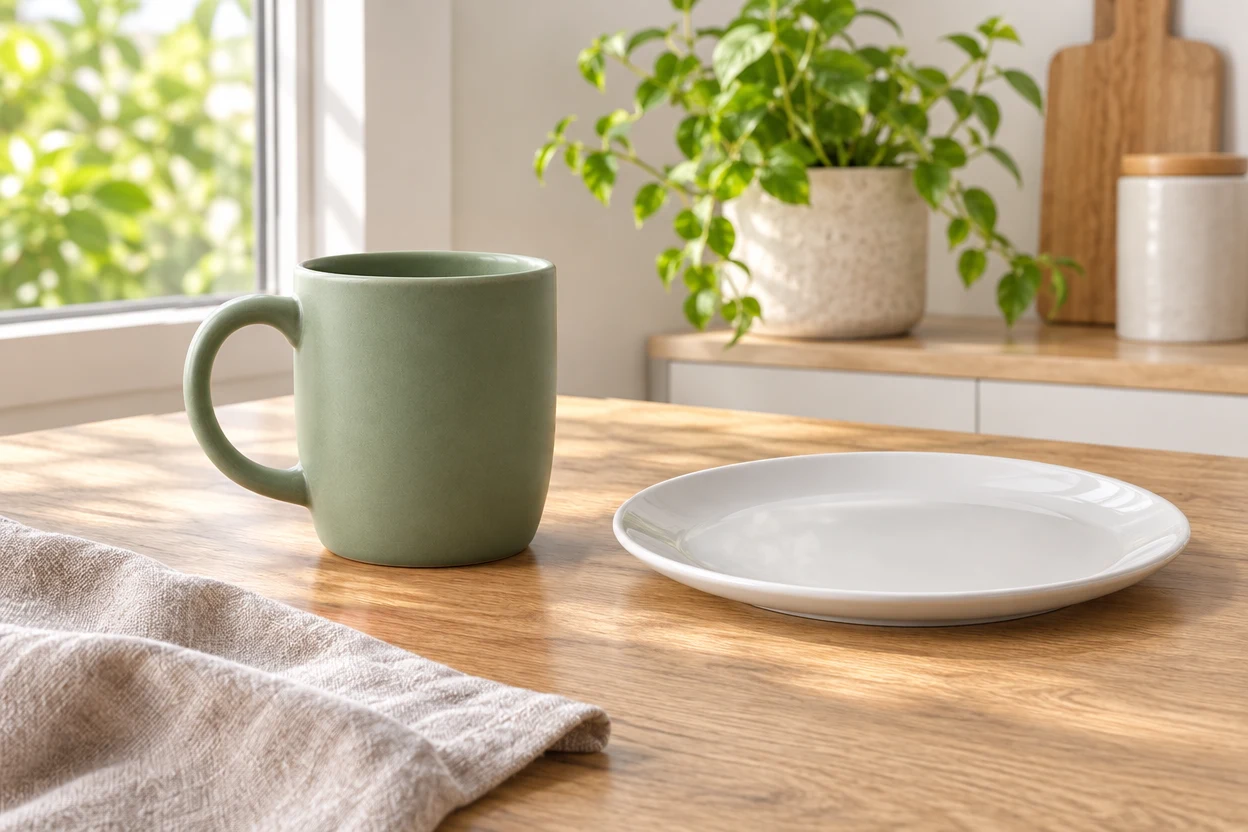
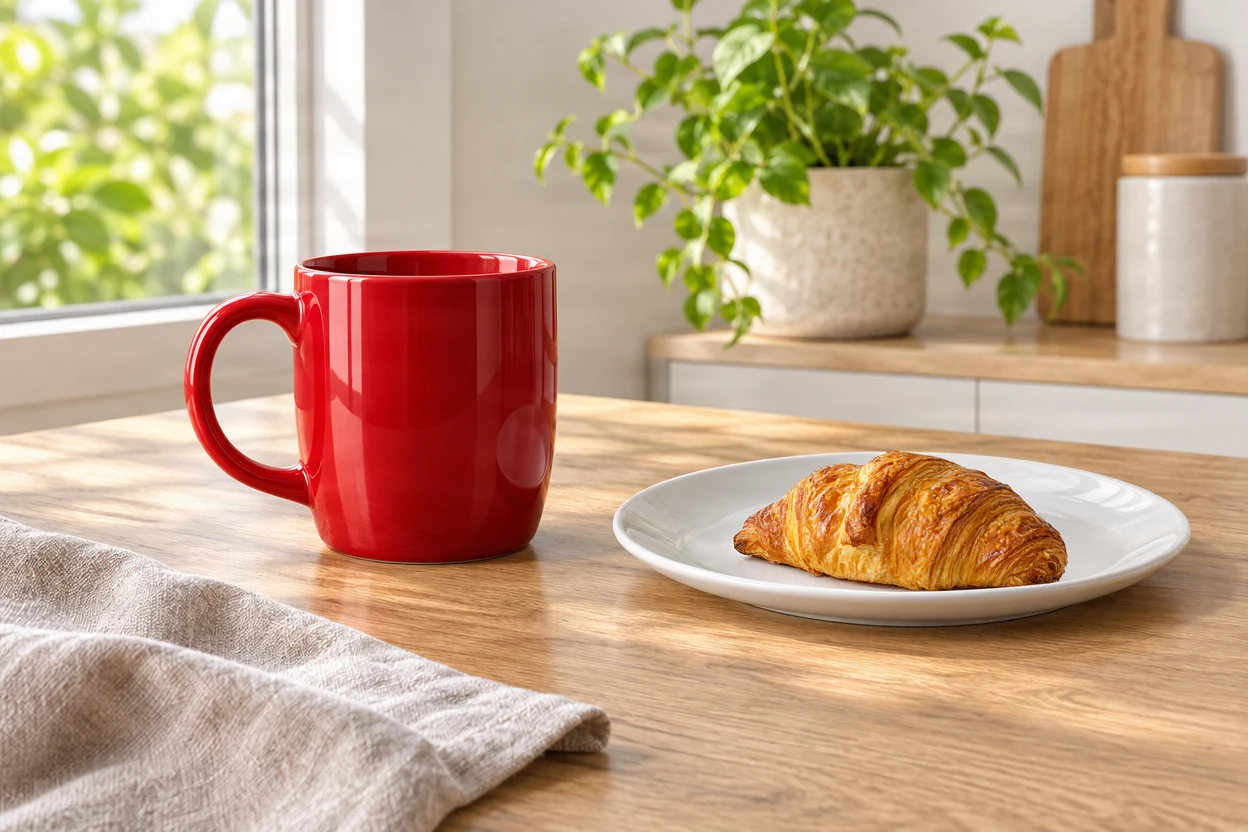
The four steps
Step 1
Open the image in the Inpaint tab
In Generate, click an image, then the Inpaint tab of the preview. On a board, select the image, then the wand button ("AI retouch"); a photo of your own goes onto a board first. The gallery of a workflow opens the same editor, and the AI photo editor page sums up what it can do.
Step 2
Paint the area and describe the change
The brush (8 to 200 px) covers what should change; the mask eraser and undo fix any overflow. Then describe the replacement in "Describe the replacement": "the same mug, in sage green", "a bouquet of red flowers". Say what should appear, not what should disappear.
Step 3
Pick the model for the change
To recolour or retouch an element while keeping its shape: GPT Image 2.6 Flare, the default, or its Sunburst variant, more creative; GPT Image 2.5 comes in the same variants. For high precision at the original size: Ideogram 4.5. To replace or add an object: Bria Fibo 2.0, which fills the painted shape. Qwen Inpaint follows instructions closely, Z-Image Turbo is very fast, and Bria GenFill relies on licensed data, safe for commercial use.
Step 4
Adjust, run and compare
With GPT Image 2.5 and 2.6, pick the resolution (1K, 2K or 4K) and the quality (Low, Medium, High); Ideogram 4.5 only sets the quality. The menu shows each model’s price for your image, and the button repeats it before you click. In Generate, the tile appears as soon as you click, the edit keeps going even if you refresh the page, and the result is added to your generations without replacing the original.
The models at a glance
| Model | How it works | What it is for |
|---|---|---|
| GPT Image 2.6 Flare (default) | Area circled, pasted back outside the area; 1K, 2K or 4K | Recolour, retouch an element while keeping its shape |
| GPT Image 2.6 Sunburst · 2.5 Flare · 2.5 Sunburst | Same settings; 2.5 sees the area highlighted | Sunburst: a more creative rendering |
| Ideogram 4.5 | Mask, high precision, original size; adjustable quality | Nothing should move outside the mask |
| Bria Fibo 2.0 | Fills the painted shape, original size | Replace or add an object, not recolour |
| Qwen Inpaint · Z-Image Turbo · Bria GenFill | Mask, original size | Qwen follows instructions closely, Z-Image is very fast, GenFill: licensed data |
Use cases
Show a product in several colours
Paint the product and ask for "the same, in sage green" with GPT Image 2.6 Flare: the instruction keeps its shape, and the scene is pasted back unchanged. Run again for each colour.
Add an object to a scene
Paint the outline of the object you want where it should appear, "a golden croissant", with Bria Fibo 2.0: it fills the painted shape.
Fix a detail in a generation
A botched hand, an unreadable label: paint the area and describe the right version. To rework the whole image, use GPT Image 2.6 in Generate instead.
Frequently asked questions
- What is inpainting?
- An AI edit limited to one area: you paint the part to change, you describe what should appear there, and the model rebuilds that area taking the rest of the image into account.
- Does the rest of the image stay intact?
- That is the point of the Inpaint tab, which only offers models that respect the area. GPT Image 2.5 and 2.6 regenerate the image, then the server pastes the original pixels back outside the area; for an image more elongated than 3:1, or if the paste-back fails, you get the model’s image as is. The other models work inside the mask, at the original size.
- Which model should I use to change the colour of an object?
- GPT Image 2.6 Flare, the default: it is shown the area circled, the instruction asks it to keep the object’s shape, and the rest of the image is pasted back. Bria Fibo 2.0, on the other hand, fills the painted shape: it is better for replacing or adding an object.
- Can I inpaint in 4K?
- Yes, with GPT Image 2.5 and 2.6: 1K, 2K or 4K, in the image’s proportions. The other models return the image at its original size.
- How much does an inpainting edit cost?
- The cost depends on the model: it follows the resolution and quality for GPT Image, the quality for Ideogram 4.5, the image size for Qwen Inpaint and Z-Image Turbo; Bria Fibo 2.0 and Bria GenFill cost a fixed amount per image. The menu shows each model’s price for your image before you run.
- Can I inpaint from Claude or ChatGPT?
- Yes, through the Beemm Vision MCP connector: its inpainting tool fills an area given by a mask URL with FLUX Fill, under a required credit cap. The nine models of the Inpaint tab are picked in the app.
Try inpainting
Open the studio, click one of your images, pick Inpaint and paint the first area to change.