What a storyboard becomes on the canvas
A storyboard breaks a story into shots. On the canvas, each shot is a short chain of nodes: a text, an image model, then a video model. The first panel is the reference for the next ones, so the face, outfit and setting stay the same. Two panels with the same framing become the start image and the end image of a video shot. The whole storyboard fits in one workflow, and you can rerun a single shot by selecting its nodes.
4 images
per run in Generate, to pick the best version of a panel
Start + end
two images for one shot, with Kling 4.0, Seedance 2.5 or MiniMax H3 Max
480p → 1080p
a Seedance 2.5 draft, then the same take finalised within 14 days
Examples made on Beemm Vision
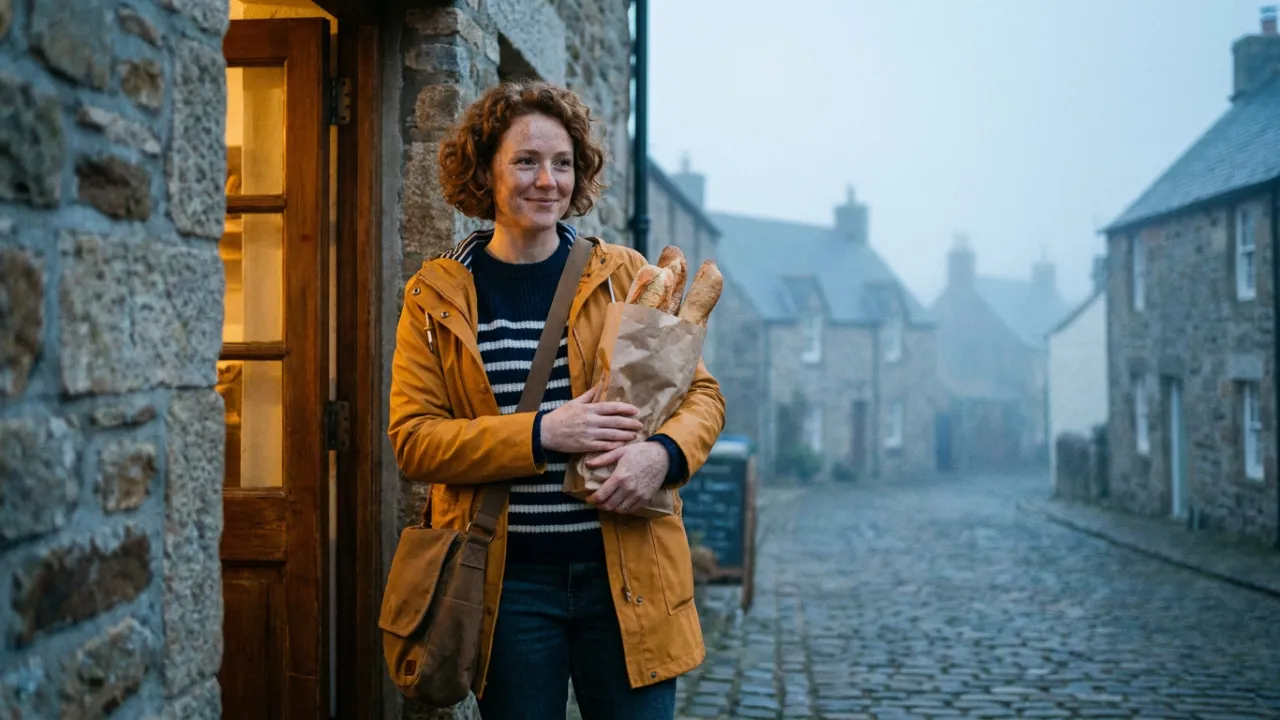
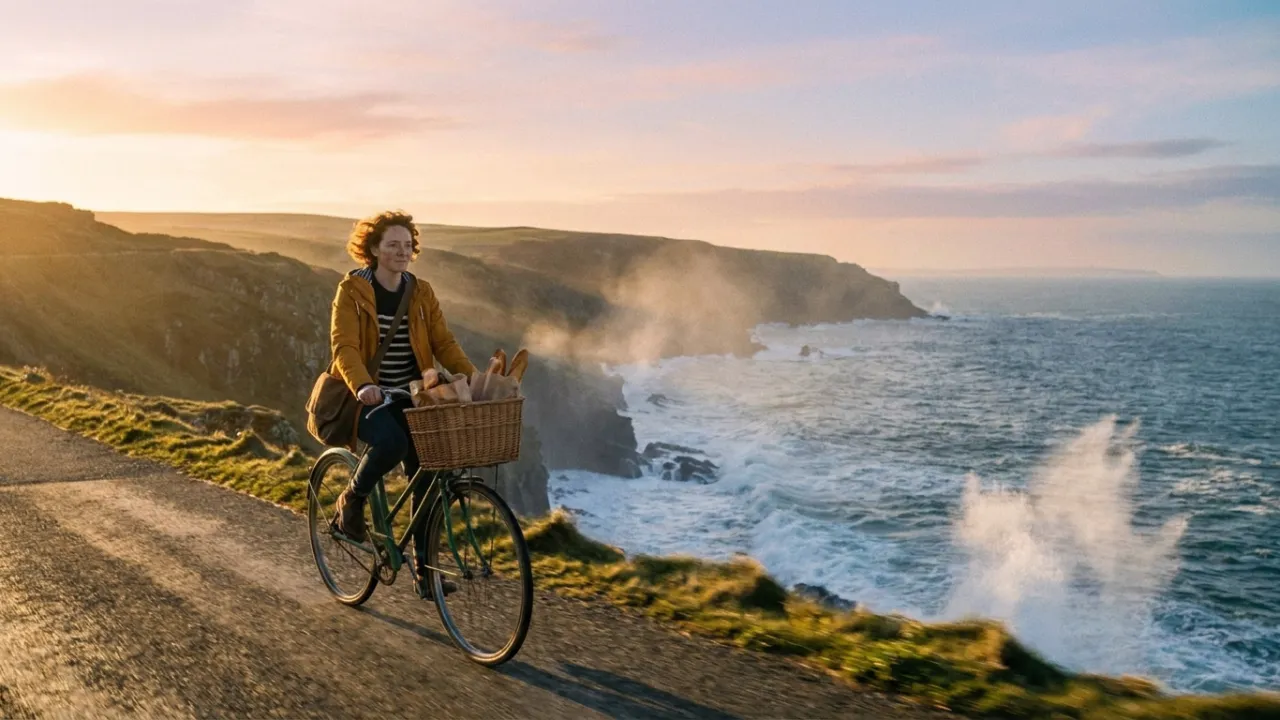
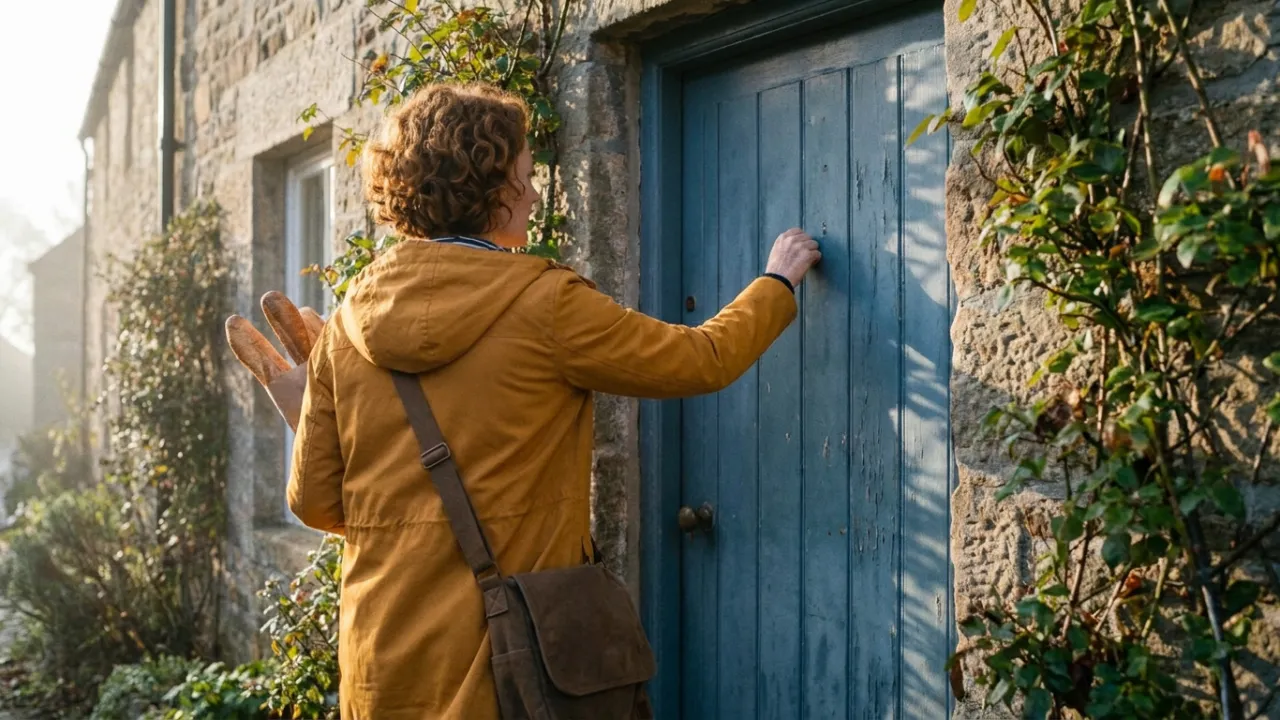
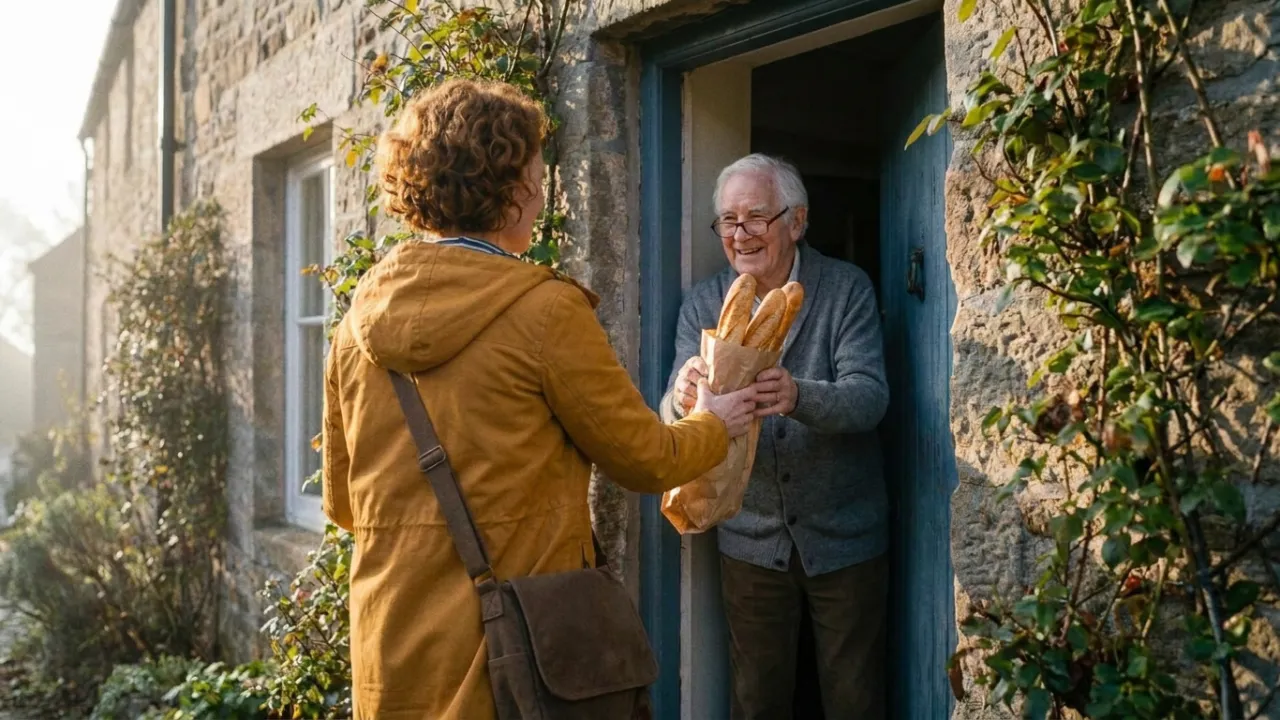
The four steps
Step 1
Write the shot list and the character description
List your shots, each with its action and framing. On the canvas, write the character description once in a Text node: age, hair, outfit, accessory. For each shot, another Text node describes the action; a Concat node joins the two into one prompt. The character is then described word for word in every shot.
Step 2
Generate the first panel, the one that sets the character
Connect the first shot’s prompt to an image model, for example Nano Banana Pro or Seedream 5 Pro. Pick a shot where the face and outfit are easy to see: this panel will be the reference for all the others. In Generate, you can produce up to four images per run and keep the best one.
Step 3
Attach the first panel to the next panels
For each new shot, connect the first panel to an image input of the model, alongside the shot’s prompt. With an image connected, these models switch to editing and carry the character over. Seedream 5 Pro and Kling Image o3 take up to 10 images, FLUX.2 Pro up to 9: add the setting or a prop if needed. The Output node sends each panel to a board.
Step 4
Animate each shot between a start image and an end image
Add a video model and connect a panel to its Start Image input. For a precise movement, generate a second panel with the same framing, the end of the action, and connect it to End Image. Kling 4.0 (3 to 30 s), Seedance 2.5 (4 to 30 s) and MiniMax H3 Max (5 to 15 s) take both. To test a shot, Seedance 2.5 Draft renders a 480p preview; the Seedance 2.5 Complete node then regenerates the same take in 1080p, within 14 days. The cost shows before every generation.
The storyboard at a glance
| Step | Nodes and models | Tip |
|---|---|---|
| Shared text | Text + Concat | The character description written once, added to every shot |
| First panel | Nano Banana Pro, Seedream 5 Pro, Kling Image o3, FLUX.2 Pro | A shot where the face and outfit are easy to see |
| Next panels | 10 references with Seedream 5 Pro or Kling Image o3, 9 with FLUX.2 Pro | The first panel always connected, plus the setting or a prop |
| Video shots | Kling 4.0 (3 to 30 s), Seedance 2.5 (4 to 30 s), MiniMax H3 Max (5 to 15 s) | Start Image and End Image: two panels with the same framing |
| Draft | Seedance 2.5 Draft in 480p, then Seedance 2.5 Complete in 1080p | The final render reuses the same take, within 14 days |
Use cases
A product ad
Three panels: the product in context, the gesture, the final shot. The first panel as a reference keeps the same setting; two panels with the same framing make the last shot.
A short film pitch
Panels with the same character, sent to a board by the Output node, to present the film before producing the video shots.
Choose between two versions of a shot
The Comparison node shows two or three images or videos side by side: two framings, or the same shot rendered by two video models.
Frequently asked questions
- How do I make a storyboard with AI?
- Break the story into shots, generate a first panel that sets the character, then attach it as a reference for the next panels. On the Beemm Vision canvas, each shot then becomes a video, from a start image and, when the model allows it, an end image.
- How do I keep the same character from one panel to the next?
- Connect the first panel to the image input of each new model, and keep the same character description in every prompt, with the Text and Concat nodes. Consistency is not guaranteed on every image: the guide on consistent characters covers the method in detail.
- Can I give a shot a start image and an end image?
- Yes, with a video model that has both inputs: Kling 4.0, Seedance 2.5 or MiniMax H3 Max, among others. Connect one panel to Start Image and a second one, with the same framing, to End Image: the model animates the move from one to the other.
- How do I test a shot before the final render?
- With Seedance 2.5 Draft, on the canvas: it renders a 480p preview. If the take works, the Seedance 2.5 Complete node regenerates it in 1080p, within 14 days.
- Can an agent build the storyboard for me?
- Samy, the agent built into the canvas, is coming soon. Meanwhile, Claude or ChatGPT can create and edit the workflow of a personal project over the Beemm Vision MCP connector; Claude Code and Cursor connect to it read-only.
- How much does a storyboard cost?
- Each panel and each video shot uses credits, depending on the model, the length and the resolution. The cost shows before every generation; rerunning one shot does not redo the others.
Build your first storyboard
Open the studio, create a workflow and start with the panel that sets the character.